Skip to content
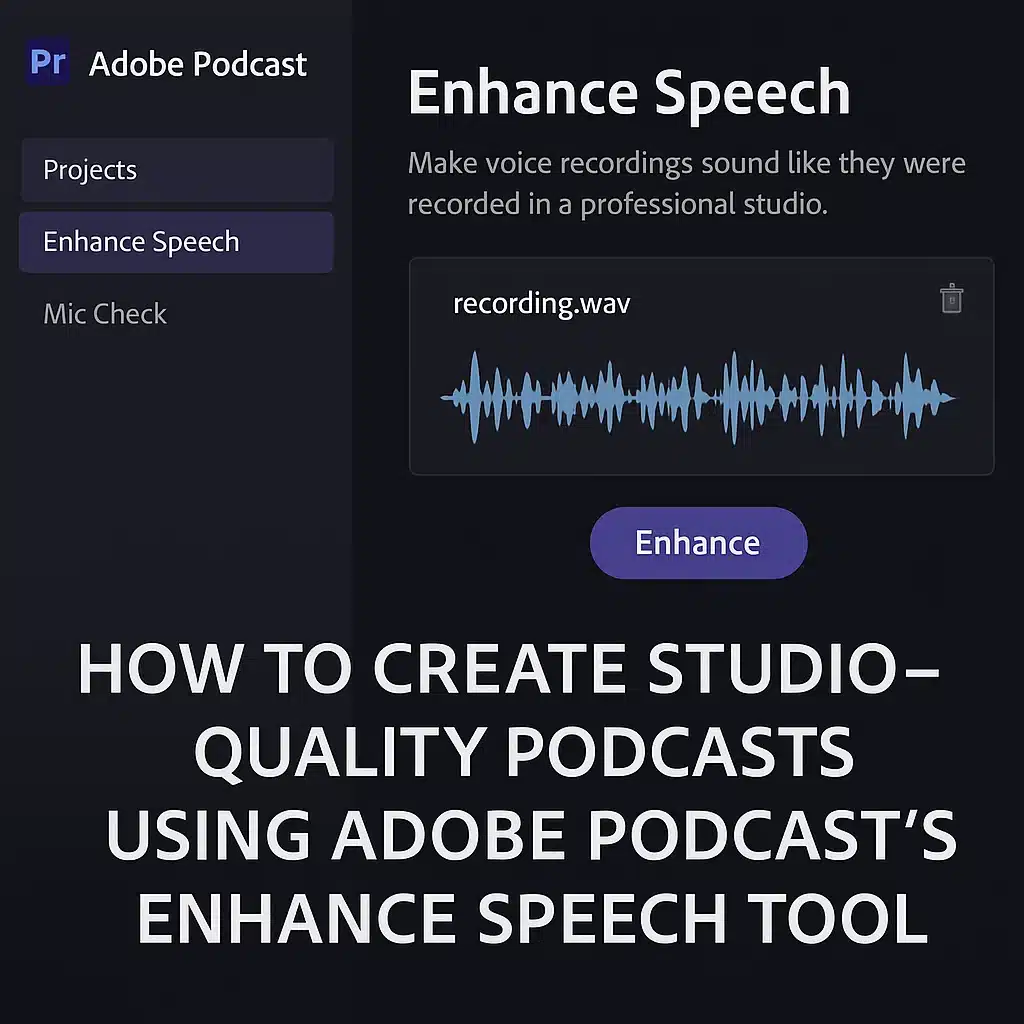
Enhance Speech is the flagship AI tool inside Adobe Podcast that instantly transforms low-quality audio into studio-grade sound .
You could be using your laptop mic in a noisy room — this tool will isolate your voice, remove noise, and make it sound like it was recorded in a professional sound booth.
This feature is so good that it has become a game-changer for podcasters, educators, YouTubers, and remote teams .
In a world flooded with content, audio quality can make or break listener retention . Clean, crisp sound equals professionalism and trust.
Here’s why audio quality is non-negotiable in 2025:
Listener fatigue from background noise = higher drop-off Clean audio ranks better on platforms like Spotify & Apple Podcasts AI platforms rely on clear input for accurate transcription and repurposing Enhance Speech uses machine learning to:
Detect and isolate human voice Suppress background sounds (traffic, fans, echo) Equalize tonal balance Boost vocal clarity Normalize volume levels It analyzes vocal frequencies, removes harsh peaks, and automatically adjusts everything in seconds.
🎯 Result: It makes a $20 mic sound like a $200 studio setup.
Here’s how to apply it, no editing experience needed :
Create or sign in to your Adobe account.
🔸 Step 2: Navigate to “Enhance Speech” Upload your raw .wav or .mp3 audio file. Max duration: 1 hour.
🔸 Step 3: Click “Enhance” Adobe’s AI goes to work. You’ll see a loading bar.
🔸 Step 4: Download Your Enhanced Audio Within seconds to minutes (depending on length), you’ll get a downloadable .wav file with studio-quality output.
That’s it — no plugins, no mixing, no extra software.
Let’s break down how it transforms common audio issues:
Audio Issue Raw Audio Enhanced Output Room echo Hollow, tinny Tight, clean voice Fan noise Distracting hum Completely removed Quiet speaker Low, inconsistent Boosted, even volume Laptop mic hiss Static & sharp Soft, studio presence
🧠 Even Zoom recordings can sound broadcast-ready after Enhance Speech.
🎙️ Podcasters Turn informal home recordings into pro episodes in 1 click.
🎓 Educators Clean voiceovers for lessons and tutorials.
🧑💼 Remote Teams Upgrade internal recordings or voice memos to HQ audio for training.
🎥 YouTubers & Voiceovers Use it to enhance audio tracks before syncing with video editors.
Workflow Step Traditional DAW Adobe Podcast Noise Reduction Manual plugins Automated EQ + Compression Manual setup AI-enhanced Mic Quality Compensation Limited Yes, intelligent Learning Curve High Near zero Time to Completion 30–60 mins 30–60 seconds
Conclusion : Enhance Speech replaces 4–6 manual editing steps with a single AI action.
Even though Enhance Speech is powerful, starting with decent input makes it unbeatable. Here’s how to get the best results:
Use a dynamic or lav mic (even budget mics like Samson Q2U)Record in a quiet room – fewer surfaces = fewer reflectionsSpeak clearly and closely Avoid background apps that might distort audio (Zoom filters, etc.) No tool is perfect. Here’s where you might hit roadblocks:
Doesn’t handle music well – strictly voice-focusedMight overprocess some voices , making them sound robotic Only supports audio files for now (no video) 💡 TIP: For mixed media or multi-speaker projects, combine Enhance Speech with Adobe Audition or Premiere Pro.
Here’s how it fits into the Adobe ecosystem:
Adobe Audition : Do detailed post-processing after Enhance SpeechPremiere Pro : Use it to clean up voiceovers before syncing with videoAdobe Express : Add enhanced audio to short videos or social postsIt makes Adobe Podcast the perfect starting point in a full Adobe content pipeline.
Here’s a real-world example:
Mic : Built-in MacBook micEnvironment : Open room, slight background fan noisePost Enhance Speech :
Noise removed Clarity boosted Sounds like a professional podcast booth ✨ That means you can start podcasting TODAY — no gear investment needed .
Q: Is Enhance Speech free?
Q: Does it work on mobile?
Q: Can I adjust the level of enhancement?
Q: Is my data secure?
✅ Enhance Speech is the ultimate audio polish tool — accessible, free, and lightning fast.
It removes the friction of post-editing and lets you focus on content , not tech.
Whether you’re recording in your bedroom or interviewing over Zoom, this tool can elevate your voice to podcast gold .
Post navigation
error: Content is protected !!