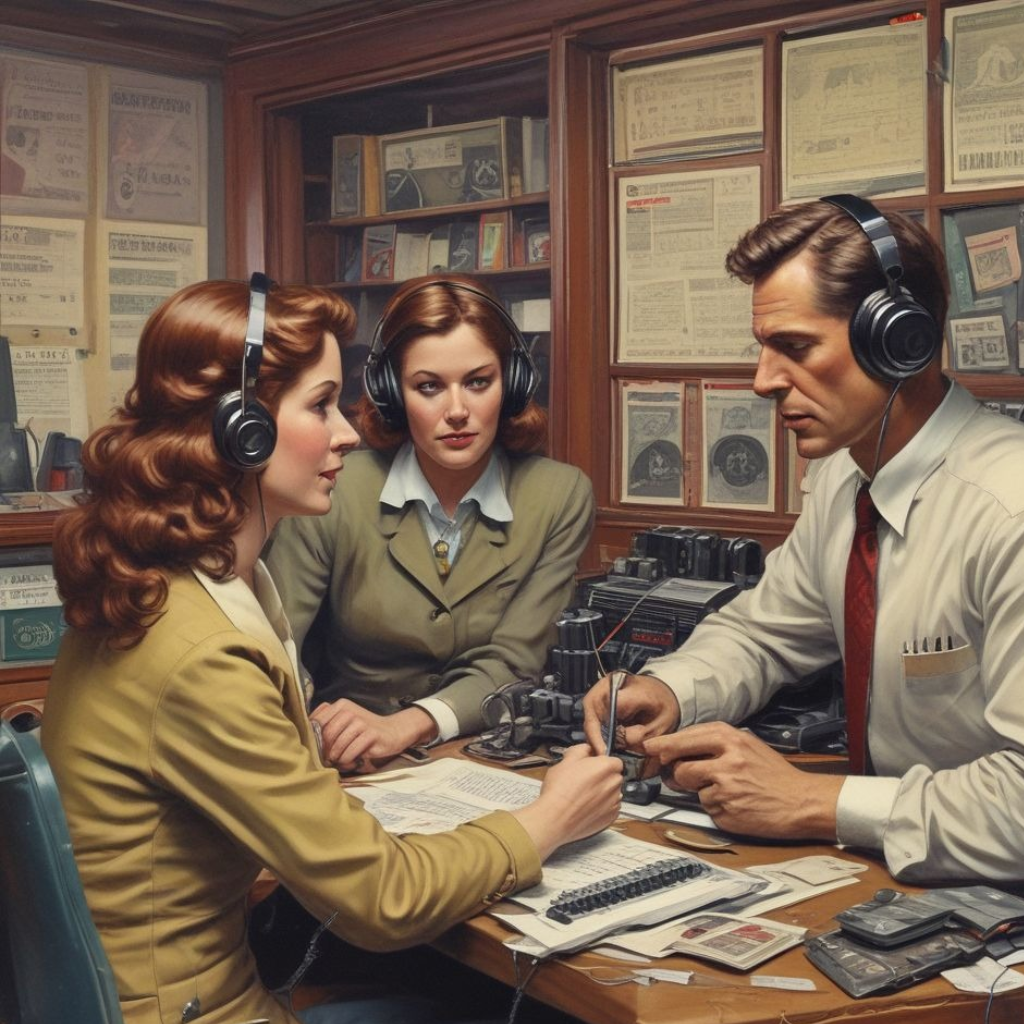
Podcasting has become a powerful medium for sharing knowledge, stories, and insights. Whether you’re a beginner or an experienced podcaster, the idea of producing high-quality audio without breaking the bank is always attractive. Many assume that professional-grade equipment and a studio setup are necessary to achieve a top-tier podcast, but this isn’t true. With careful planning and strategic investment, you can record a high-quality podcast on a budget.
In this detailed guide, we’ll explore how to achieve premium sound without stretching your wallet. We’ll discuss the key aspects of budget podcasting, such as affordable gear, recording techniques, editing software, and much more. By the end of this blog, you’ll be well-equipped to launch or improve your podcast with a high-quality, low-cost setup.
1. Introduction: Can You Record a Professional Podcast on a Budget?
Podcasting has become one of the fastest-growing media formats, with over 2 million active shows globally. The accessibility of podcasts draws in a diverse audience, ranging from individuals sharing personal stories to professionals hosting interviews and discussions. Many budding podcasters believe they need to spend thousands of dollars on equipment to achieve studio-level sound quality, but that’s simply not the case.
In fact, with advancements in technology, you can now create a professional-sounding podcast without investing in expensive gear or renting studio space. In this guide, we’ll break down the steps to record high-quality audio, from choosing the right equipment to mastering post-production, all while staying within a reasonable budget.
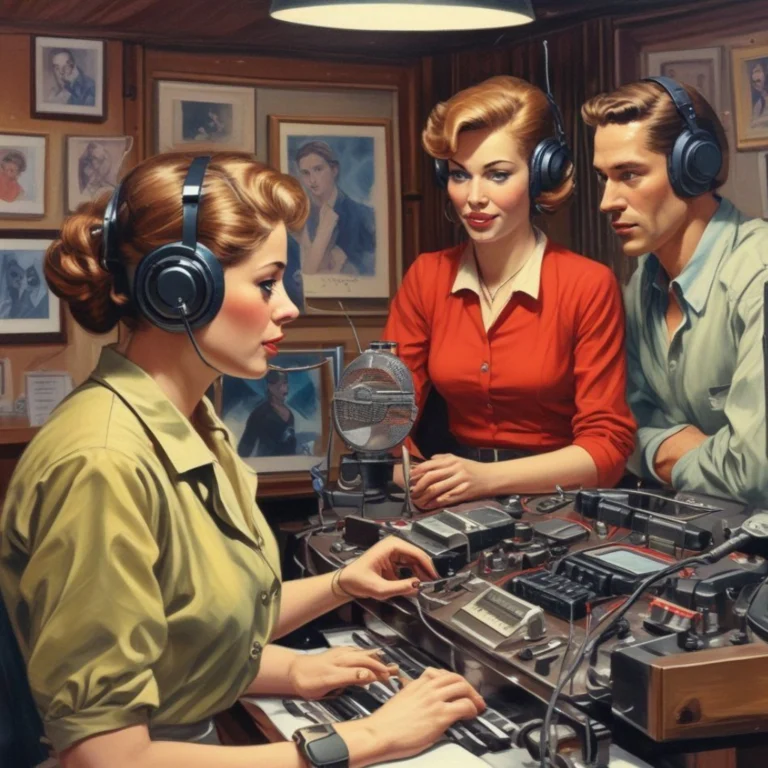
2. Step 1: Choose the Right Podcasting Equipment
The most crucial part of producing a high-quality podcast is the equipment you use. While there are plenty of high-end options on the market, you don’t need the most expensive gear to get started. Here’s a breakdown of affordable yet effective options for essential podcasting equipment:
Microphones
The microphone is the most important piece of equipment for a podcaster. The better your mic, the better your audio will sound. Here are some excellent budget-friendly options:
Microphone
Type
Price Range
Features
Audio-Technica ATR2100x
Dynamic
$99 – $130
USB and XLR connections, cardioid polar pattern for noise isolation, great for beginners.
Samson Q2U
Dynamic
$70 – $100
USB/XLR dual-output, includes mic stand and pop filter, perfect for budget-conscious podcasters.
FIFINE USB Microphone
Condenser
$40 – $60
Easy plug-and-play setup, great for solo podcasters, built-in pop filter.
Blue Snowball
Condenser
$50 – $80
USB microphone, cardioid mode for solo recording, highly portable and affordable.
Audio Interface and Mixers
An audio interface connects your microphone to your computer and improves sound quality. Some affordable and reliable options include:
Focusrite Scarlett 2i2 ($150): Offers great preamps and smooth sound quality, ideal for podcasters with two mics.
Behringer UMC22 ($60): Affordable option for single mic setups, with XLR input and phantom power.
Headphones
Using good headphones helps you monitor your audio quality while recording. Some budget-friendly options include:
Audio-Technica ATH-M20x ($50): Affordable and durable, providing clear sound for monitoring.
Sony MDR7506 ($100): Slightly higher priced but worth the investment for crisp audio monitoring.
Pop Filters and Shock Mounts
To improve the audio quality, consider adding a pop filter (to reduce harsh plosive sounds) and a shock mount (to minimize vibrations):
Aokeo Pop Filter ($10): A simple, effective way to reduce plosive sounds in your recordings.
Neewer Shock Mount ($15): Helps isolate the microphone from vibrations, preventing unwanted noise in recordings.
3. Step 2: Setting Up Your Recording Space
The environment where you record your podcast has a significant impact on audio quality. However, creating an ideal recording space doesn’t require expensive studio equipment. Here’s how you can improve your recording space on a budget:
How to Soundproof a Room on a Budget
Soft Furnishings: Use blankets, curtains, rugs, and pillows to absorb sound and reduce echo.
Foam Panels: Acoustic foam panels are inexpensive and effective in soundproofing a room. A pack of 12 foam tiles can cost as little as $20.
Closet Recording: Recording in a closet filled with clothes can create a makeshift soundproof booth. Clothes naturally absorb sound and reduce echo.
DIY Acoustic Treatments
If you don’t want to invest in professional soundproofing, DIY solutions like thick curtains, bookshelves filled with books, or even hanging up quilts can dramatically improve the sound quality of your recordings.
Recording in Different Environments
Choose a quiet room with minimal background noise. Avoid areas with hard surfaces, as they reflect sound and create unwanted echo. Recording in a carpeted room with curtains can help absorb sound waves, creating a more controlled environment.
4. Step 3: Affordable Software for Podcast Recording and Editing
You don’t need to purchase expensive software to produce high-quality audio. Many free or low-cost options provide professional-grade features for recording and editing your podcast.
Free and Paid Podcast Editing Software
Audacity (Free): One of the most popular free audio editing tools, Audacity offers a wide range of features such as noise reduction, multi-track editing, and exporting to various file formats.
GarageBand (Free for Mac): GarageBand is a powerful tool that comes pre-installed on Apple devices, making it an excellent choice for Mac users.
Reaper ($60): Reaper is a highly customizable DAW (Digital Audio Workstation) with a low price tag compared to other industry-standard options. It’s great for intermediate and advanced users.
Adobe Audition ($20/month): While more expensive, Adobe Audition is a powerful, professional-grade editing tool with features like multitrack editing and high-quality effects.
Best Free Audio Editing Software
If you’re just starting, Audacity and GarageBand are great tools to create professional-level podcasts without any investment in software.
Free Plugins to Enhance Your Podcast
To enhance your podcast audio, consider using free plugins such as:
Waves DeBreath (For reducing breath sounds)
Spitfish (Free de-esser to eliminate harsh “s” sounds)
TDR Nova (Dynamic equalizer plugin for fine-tuning frequencies)
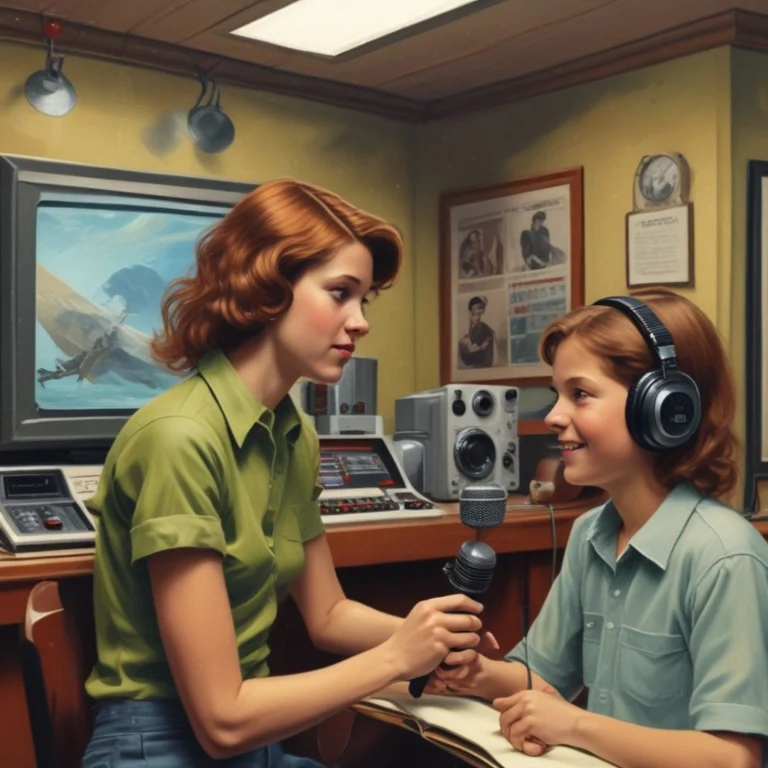
5. Step 4: Best Practices for Recording High-Quality Audio
Recording clean, professional audio is more than just having the right equipment; it’s also about following best practices to ensure the best sound quality.
Tips for Microphone Technique
Distance Matters: Keep the microphone about 6-12 inches from your mouth to capture a clear sound without distortion.
Stay Consistent: Avoid moving around too much while recording, as varying distances from the microphone can result in inconsistent audio levels.
Use a Pop Filter: This helps eliminate harsh plosive sounds (like “p” and “b” sounds) that can cause audio peaks.
Adjusting Gain and Levels
Ensure your audio interface or recording software’s gain is set to an appropriate level. The audio should peak between -12 dB and -6 dB to avoid distortion.
Reducing Background Noise
Record in Quiet Spaces: Avoid recording near windows, fans, or air conditioners.
Use Noise Reduction Software: Software like Audacity offers noise reduction features to help eliminate background hums or unwanted sounds.
Recording Remotely
If you’re recording with guests remotely, use tools like Squadcast or Zencastr for high-quality remote recordings. These platforms record audio locally on each participant’s device and automatically sync the tracks, ensuring clear sound quality.
6. Step 5: Post-Production and Editing Tips
After recording, you’ll want to refine your podcast with editing. This includes cleaning up your audio, balancing levels, and adding music or sound effects.
Cleaning Up Audio
Remove Silence and Mistakes: Cut out long pauses, filler words (like “um” and “uh”), and any mistakes or interruptions.
Noise Reduction: Use noise reduction features in software like Audacity or Reaper to eliminate low-level background noise.
Adding Music and Sound Effects
Adding intro/outro music or subtle sound effects can make your podcast sound more professional. Websites like Free Music Archive or YouTube Audio Library offer royalty-free music for podcasts.
Compression, Equalization, and Normalization
Compression: Compressing your audio will even out the volume levels, making the quieter parts louder and louder parts quieter.
Equalization (EQ): Adjust EQ settings to balance the different frequencies in your recording, enhancing clarity.
Normalization: Use normalization to ensure your podcast audio is consistent in volume across different devices and platforms.
7. Step 6: Affordable Hosting and Distribution Options
Once you’ve recorded and edited your podcast, you’ll need a hosting platform to distribute it to podcast directories like Apple Podcasts, Spotify, and Google Podcasts.
Free vs. Paid Podcast Hosting Platforms
Anchor (Free): Anchor by Spotify is one of the most popular free podcast hosting platforms. It offers unlimited storage and distribution to all major podcast platforms.
Buzzsprout ($12/month): Buzzsprout is a user-friendly podcast hosting service that offers affordable plans, great analytics, and support for beginners.
Podbean ($9/month): Podbean provides a mix of free and paid options, offering a robust platform with unlimited storage and bandwidth.
How to Optimize Audio Files for Distribution
Make sure your podcast files are in the correct format for distribution. The standard file format is MP3 with a bitrate of 128 kbps for spoken-word content. Ensure the file size is optimized to avoid long download times for listeners.
8. Step 7: Marketing and Promoting Your Podcast on a Budget
Creating a podcast is only half the battle. Getting it in front of your target audience requires effective promotion. Here’s how you can market your podcast without spending much:
Social Media Strategies
Create Dedicated Social Media Pages: Platforms like Instagram, Twitter, and Facebook can help you build an audience and engage with listeners.
Use Hashtags: Leverage relevant hashtags (#Podcast, #Podcasting, #Podcaster) to increase the visibility of your episodes.
Post Teasers: Share short audio or video clips from your episodes to spark interest and encourage listens.
Leveraging Cross-Promotions and Collaborations
Guest Appearances: Invite guests on your podcast who have their own audience. They’re likely to share the episode with their listeners, expanding your reach.
Cross-Promote with Other Podcasters: Collaborate with other podcasters in your niche for cross-promotion.
9. Step 8: Monetization Options for Budget Podcasters
Even with a low-cost setup, you can still monetize your podcast. Here are some affordable ways to make money from your podcast:
How to Make Money from a Low-Budget Podcast
Sponsorships: Once you build an audience, approach companies for sponsorship deals. You can start with small or local businesses that align with your content.
Affiliate Marketing: Partner with companies offering affiliate programs. Promote their products in your episodes and earn a commission for every sale made through your referral link.
Crowdfunding and Listener Donations
Patreon: Patreon allows listeners to support your podcast financially. You can offer exclusive content or behind-the-scenes access to incentivize donations.
Buy Me a Coffee: This platform allows listeners to make one-time donations to support your podcast.
10. Key Takeaways: Recording a High-Quality Podcast on a Budget
Affordable Equipment: You don’t need to spend thousands on equipment. A dynamic microphone, affordable audio interface, and basic soundproofing can deliver professional-quality audio.
Recording Environment: Focus on minimizing background noise by soundproofing your space with DIY acoustic treatments.
Editing Software: Free tools like Audacity and GarageBand offer powerful features for podcast editing.
Best Practices: Keep the microphone at the right distance, adjust gain and levels properly, and eliminate background noise to improve recording quality.
Promotion and Monetization: Use social media, cross-promotions, and collaborations to grow your audience. Monetize through sponsorships, affiliate marketing, and listener donations.
11. FAQs
Q1: Can I start a podcast with just my smartphone? Yes, while using a smartphone is possible, investing in an affordable USB microphone can significantly improve audio quality.
Q2: What’s the best free software for podcast editing? Audacity and GarageBand are two of the most popular and powerful free podcast editing tools.
Q3: How can I reduce background noise during recording? Record in a quiet space, use a pop filter, and apply noise reduction tools during post-production.
Q4: What’s the best hosting platform for budget podcasters? Anchor is a great free option for beginners, while Buzzsprout and Podbean offer affordable paid plans with more features.